As part of my voluntary work for Ability Net, I’ve recently been working with a registered blind man to help him switch from using an old Nokia with keys to using an Apple iPhone. I thought it would be straightforward enough to do this since I had worked with other partially sighted people switching to an iPhone.
The challenge is that each app has a different navigation model and it’s hard for the blind person to visualise and understand the navigation model if they have never used or seen a smartphone before they came blind. These are the steps I’d recommend to make it manageable. For a one hour teaching and learning session each step could take 2 or 3 sessions to reinforce each.
1. Start by teaching Siri for making and receiving calls and sending texts
Understanding gestures isn’t required for this, so it gives an immediate benefit. It’s recommended to switch Voiceover on as part of this process. This post explains How to setup up voice control using Siri on an iPhone or iPad for Blind and visually impaired users.
This stage also involves setting up Contacts.
2. Use a Voiceover tutorial to teach gestures
Since the home page is often complex with the dock and many apps, it’s useful to simplify through using an app. I recommend this tutorial:
The first two tutorial introduces the basic Voiceover gestures at the beginning:
- Double tap to activate a control, like a button or menu option
- Press a button or control with one finger while tapping with another finger to activate the control
- Sliding the finger over the touchscreen to move between interface elements like paragraphs and buttons so they are read out by Voiceover
- Using a single finger left-flick and right-flickas an alternative to move between interface elements – this will be useful later when selecting the rotor
The tutorial has some simple examples to try and it’s useful to show how to select and move between the Back and Next buttons.
AppleVis has a full-list of mapped and unmapped gestures.
3. Apply the learning to using the home page with basic gestures
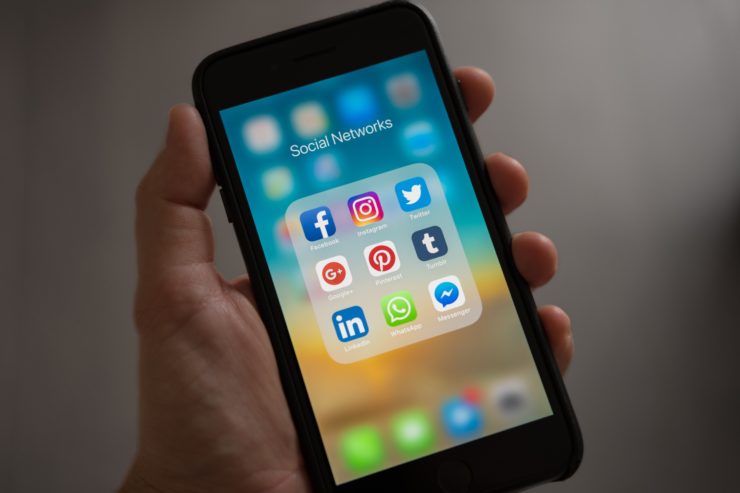
The home screen is usually packed with apps, most of which will be never used, so as part of customisation, it’s best to simplify the dock and home page to the main apps that will be used, typically…
On the desktop:
- The Clock – a useful anchor point top left
- The app store
- The Voiceover tutorial
In the dock:
- Phone
- Messages
- Browser – Safari or Chrome
It can be useful to introduce the App Switcher (Double click home) at this point since this is often clicked accidentally and it’s useful for closing down apps.
4. Teach how to use the Voiceover rotor on Messages, Email or Browser
Using the rotor is more challenging still, but the tutorial builds from the left-right flick to the up-down flick to use the rotor.
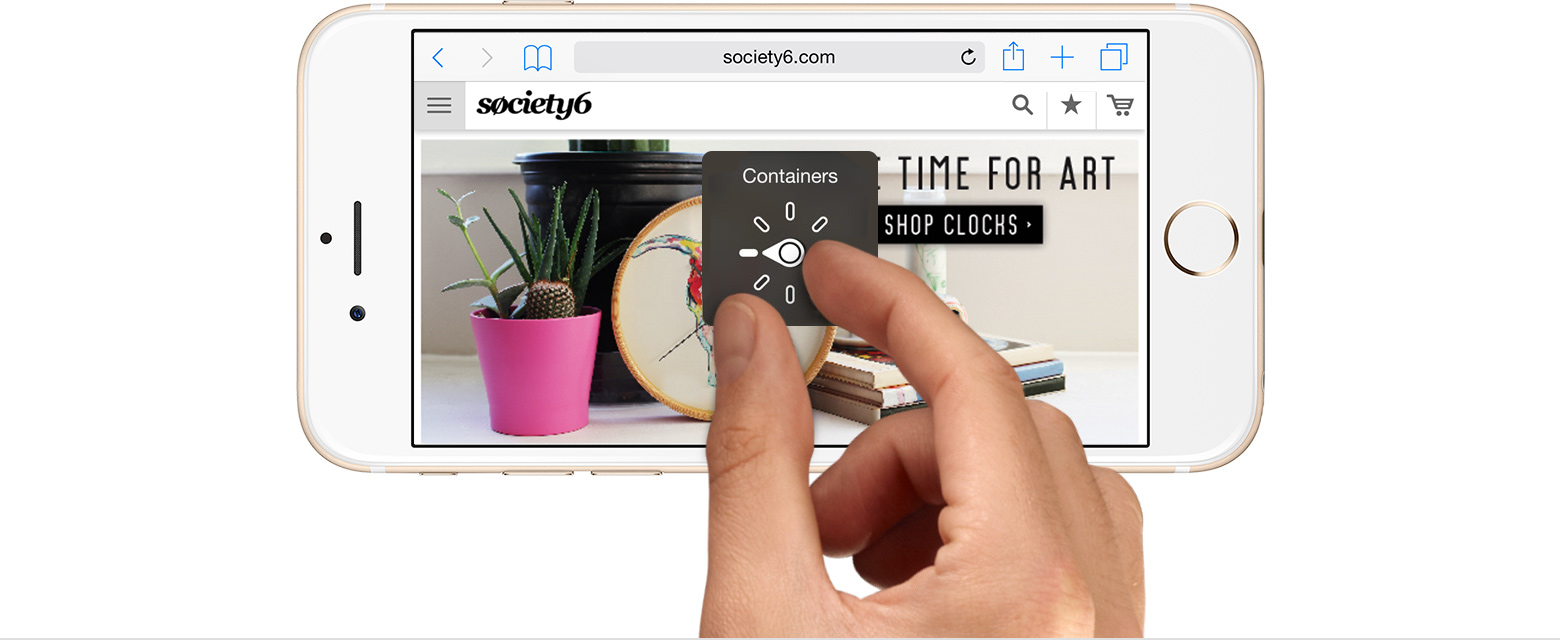
The rotor is so-called, because it’s like a knob that can be rotated left and right like this (taken from the Apple introduction to the rotor).

The rotor has MANY options, I recommend simplifying these intially (in General, Accessibility, and teaching these main options applying them to Messages app to start. Start with moving between messages and then deleting them using actions.
Simplify rotor options by selecting on Settings > General > Accessibility > Rotor
Characters, Words, and Lines needed to read or edit text.
- Characters: Reads one character at a time.
- Words: Reads one word at a time.
- Lines: Reads one line at a time.
Containers and heading, useful for moving through a screen app or web page :
- Containers: Moves from one onscreen container to the next. The Dock and Home screen, for example, are containers.
- Headings: Moves from one heading to the next. Try using this rotor in Settings > Mail, Contacts, Calendars.
- Vertical Navigation: Moves up or down with one-finger vertical flicks. Try this on the Home screen.
Actions: Chooses what happens when you double-tap with one finger.
For example, in Mail, this rotor chooses from Delete, Activate Item, Mark Read, Flag, and others. Also applies to the app switcher.


